Category: Adventuring

  • Single Bar Adventure Soap

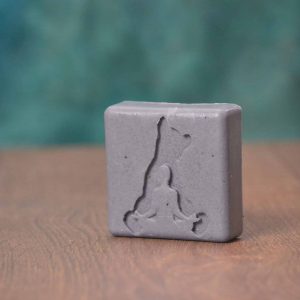
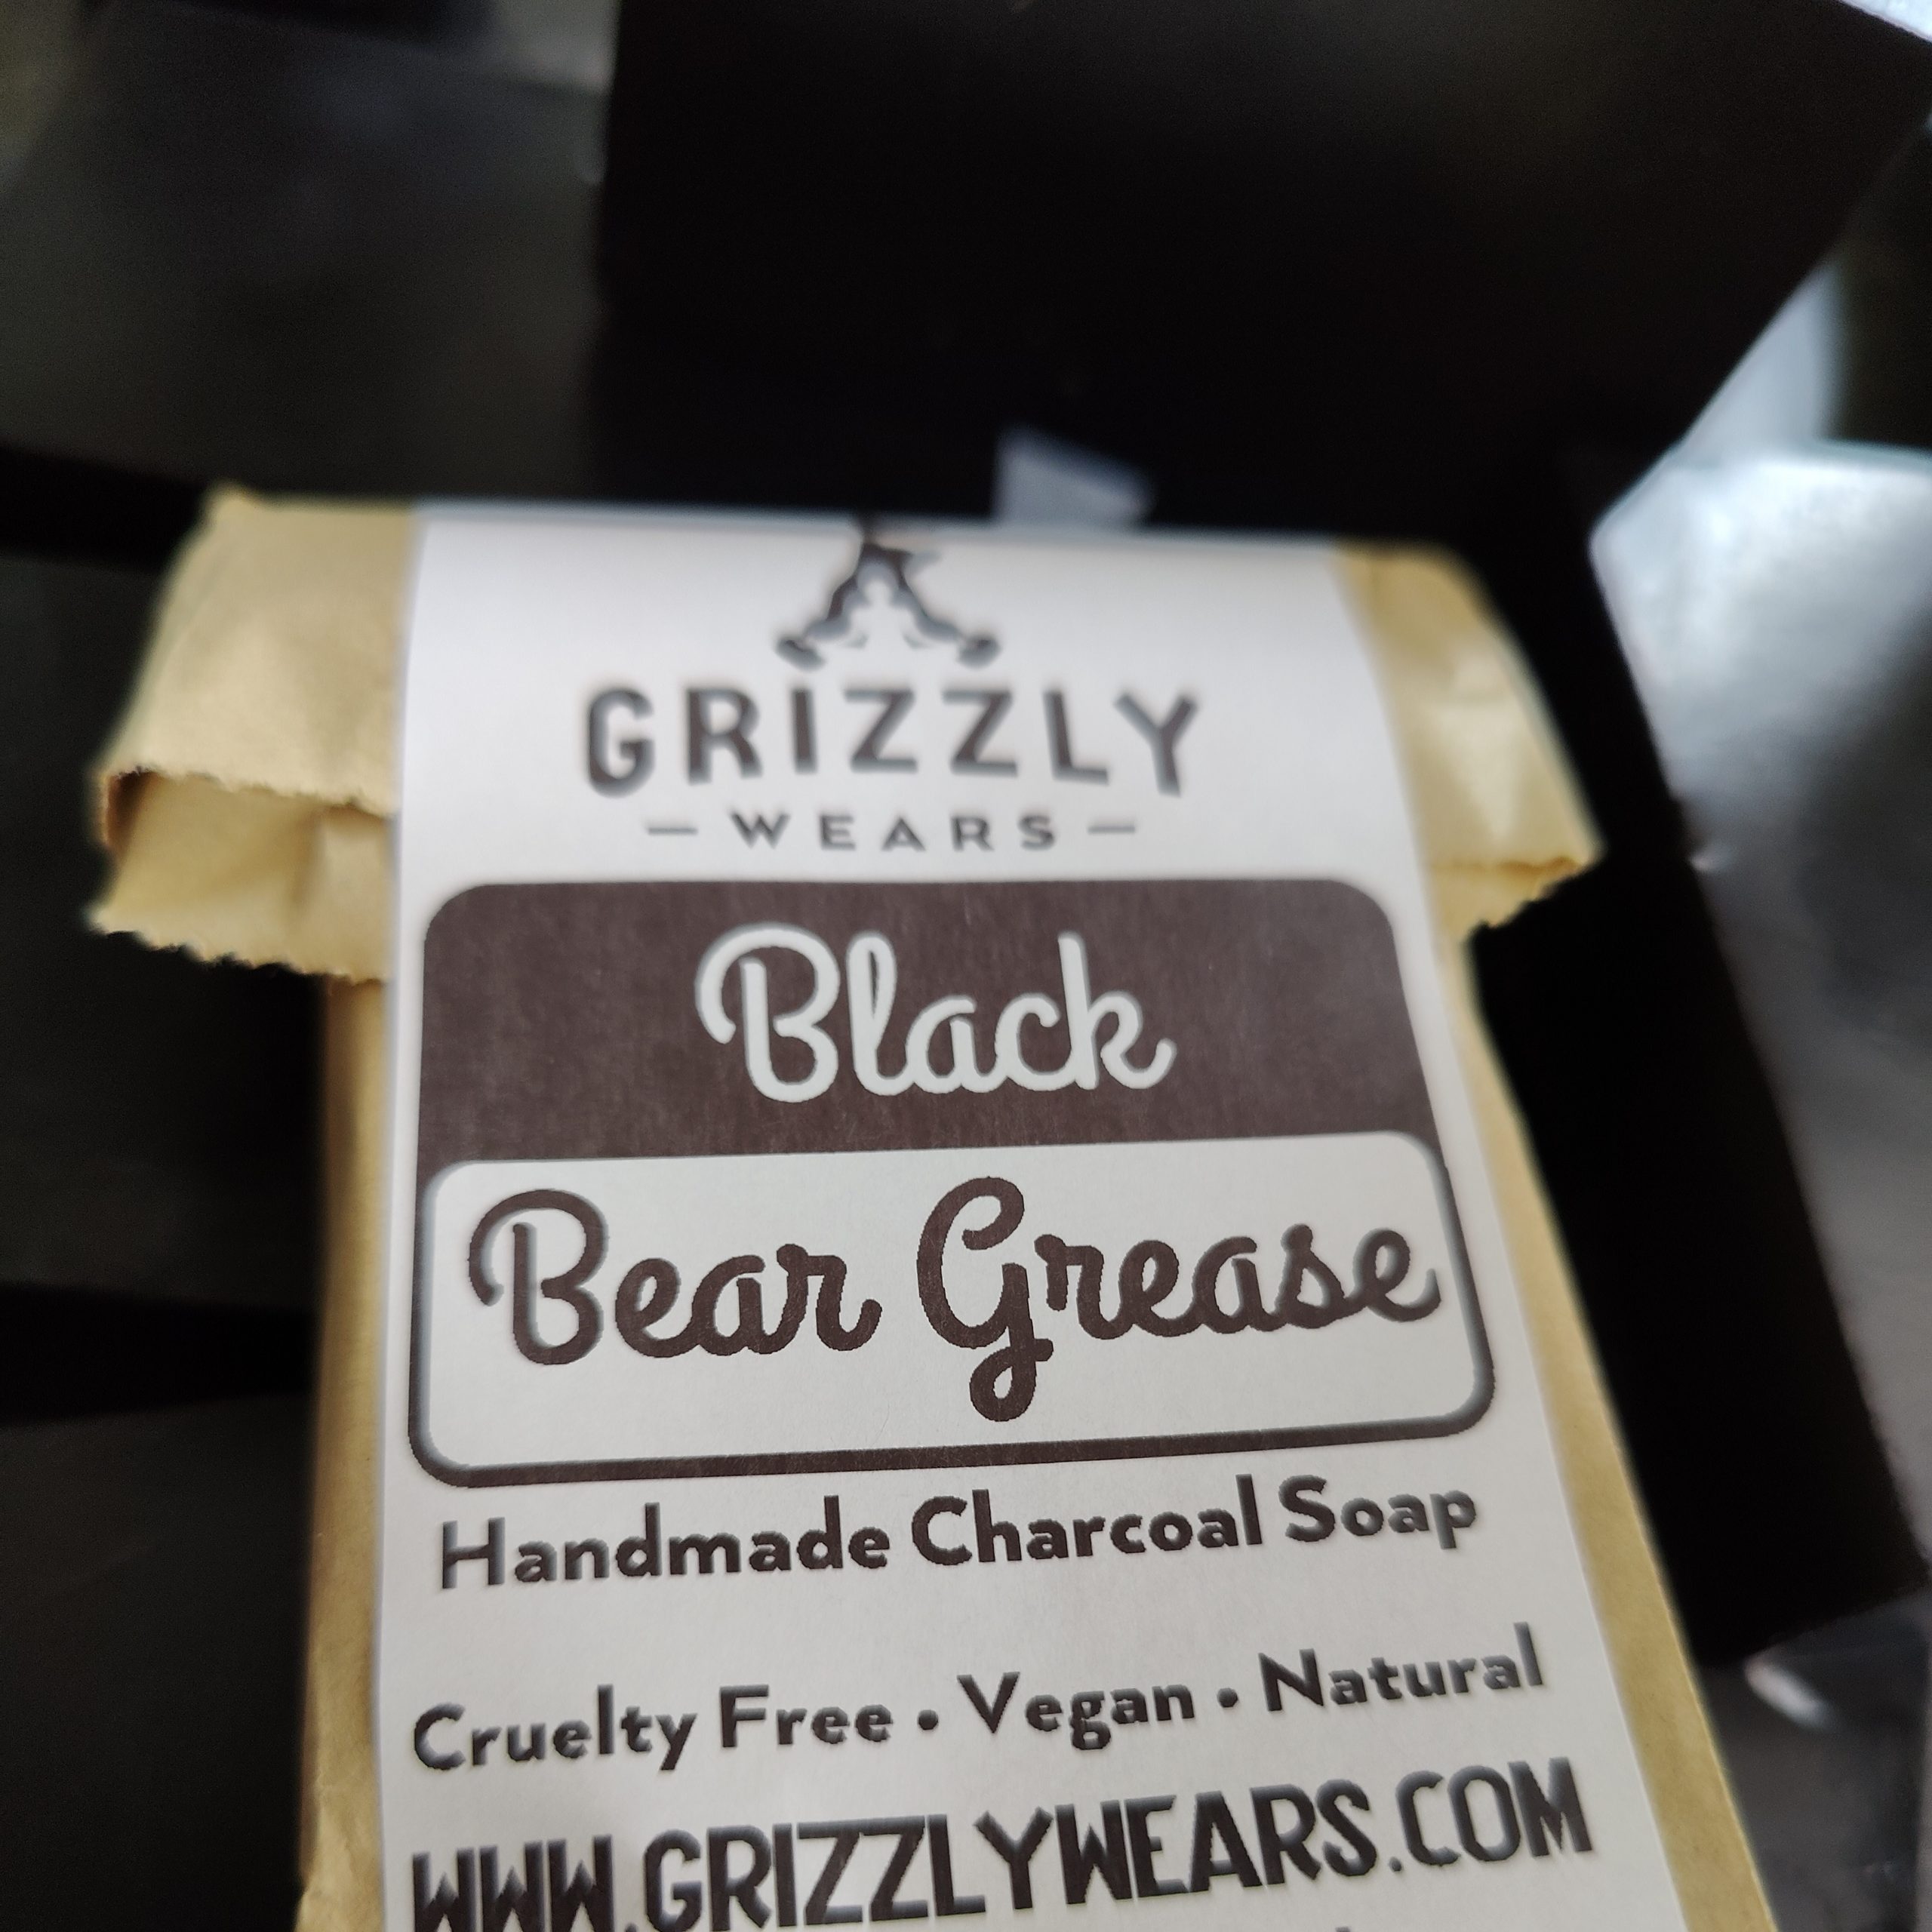
    Black Bear Grease – Single Bar Adventure Soap

    Black Bear Grease has been specially formulated to work well at all jobs you may need it to perform on any adventure. A true Single Bar Adventure Soap !

    Click here to order your soap now or read about all the natural ingredients and benefits below…

    Black Bear Grease Natural Single Bar Adventure Soap
    Black Bear Grease Natural Soap

    Naturally Great Ingredients

    Black Bear Grease contains only natural Ingredients, It contains no Phenoxyethanol , SLS, SLES or MPG and uses an Aloe Vera base. Although it has not been tested on animals it should be safe to wash your dog with as long as they are not sensitive to Tea Tree Oil *(See FAQ’s). In addition we add activated charcoal as it has great cleaning power and is an antioxidant.

    Aloe Vera

    An excellent natural base for soap and well known for its cleansing and soothing properties. Rich in polysaccharides that trap moisture in your skin cells and lock in the moistness for a long time. Soap base aloe vera ensures that your skin does not suffer from dehydration and prevents dryness as well. Used in skincare products for over 5000 years, aloe vera is a well established super plant.

    Furthermore aloe vera promotes the production of elastin fibers and collagen in your skin cells. It also fights wrinkles, fine lines, and other aging signs effectively. As a result, your skin remains soft, supple, youthful, and beautiful.

    Our natural Aloe Vera soap strengthens your hair roots. It also repairs the hair follicles that are damaged due to environmental pollution and aging. Moreover, it may also induce hair growth and it is also suitable for oily hair as Aloe Vera Soap Base cleanses excess oil and dirt from your hair effectively.

    People who suffer from sunburns, itching, rashes, and skin redness can use the soaps made from Aloe Vera soap base. The soothing effect of Aloe Vera reduces all types of itching and inflammation and provides quick relief. The cooling sensation created by it can also be used to reduce tanning and it can also be used to heal sensitive and dry skin.

    Activated Charcoal

    Scientifically proven to remove toxins from the body, Activated Charcoal is quickly becoming popular in the cosmetics industry. Absolutely a different thing to what you would use on your barbecue, cosmetic grade activated charcoal contains no toxic substances which your body can’t tolerate. It is created at higher temperatures and exposed to steam or hot air to make the surface more porous and absorbent.

    With an ability to absorb as much as 1000 times its own weight, Charcoal is fantastic at removing toxins from the skin. Furthermore it can be used to purify water and as an emergency treatment for poisoning. Only a tiny amount is required to be an effective cleanser. Critically, Charcoal soap can help remove unnecessary oils and dirt from the skin to leave you with a smoother complexion. It is effective on the face, body and hair

    Acne and pimples can be effectively treated with activated charcoal as it helps to deep clean pores and reduce their size over time. Unlike some acne treatments, charcoal can be much gentler and more soothing on the skin. In addition, charcoal can prevent skin infections with its antimicrobial properties. Furthermore charcoal has been used in the effective treatment of skin conditions such as eczema and psoriasis and reduce inflammation.

    Due to its slightly gritty texture it is a mild exfoliant and very effective at removing dead skin cells. If all of this isn’t enough, charcoal has been known to reduce the effects of ageing. It can tighten your skin and help to prevent wrinkles and fine lines from forming.

    Tea Tree Oil

    Last but not least, Tea Tree Oil. Another great natural ingredient which has been used in skincare for a long time.

    With insect repellent properties I thought this was the final missing key ingredient of a true adventurists soap. This final key ingredient makes Black Bear Grease a fantastic all rounder. It cleans everything, it heals the skin and it keeps away insects. Tea tree further adds to the hair cleaning benefits as it remove dandruff and itchiness.

    Tea tree can help to soothe skin, by reducing itching, swelling and irritation. With anti inflammatory properties it is also great for combating acne and other skin conditions. It can also help in reduction of scarring and redness. As a powerful antimicrobial agent, tea tree oil helps to kill off bacteria, viruses and fungi. Being an antiseptic it is also good at treating cuts and bruises which you will definitely pick up if you are having proper adventures. Effective relief of ringworm, athletes foot, dermatitis, eczema and psoriasis have also been credited to tea tree oil.

    This rounds up our list of ingredients and as you can see (if you have read this far), Black Bear Grease has many great properties for daily use or as a single bar adventure soap.

    FAQ’s

    Can I use this on my Dog ?

    This particular ingredient is highly toxic to dogs but the amount used in Black Bear Grease is well under the threshold considered dangerous in normal circumstances. Given the varying degree of sensitivity to Tea Tree Oil in dogs we can not be held responsible for any reactions and advise immediate vet treatment if any adverse reactions do occur. I would strongly advise using with caution and doing your own research before applying this to your dog or any other pet.

    Can I put this up my bum ?

    Often puzzled by the statement “for external use only” and wondering who this is for, I thought I’d better reiterate. No, don’t put it up your bum or eat it. It is not for cleaning inside your eye holes, ear holes, nose holes. You have been warned !

    Are natural products safe ?

    Natural products are generally safer but if you are allergic to any of the ingredients or have an adverse reaction we would recommend not using this product and consulting a medical professional. There are many unsafe natural products. Whilst I do my best to formulate these soaps to be safe there is always a slight risk. I use these soaps regularly and have never had any problems. Many people have tested them and none have had issues. If you are sensitive to any of the ingredients please avoid them.

    Is the packaging environmentally friendly too ?

    All of my soaps are packaged in food grade paper bags with recycled paper labels. Zero plastic used here and as with all other products our compostable plastic shipping bags with a bioenzyme to break them down faster are used.

  • Transit Custom Camper Van

    Transit Custom Camper Van

    An Exciting new chapter in the Grizzly Wears story starts with the addition of a Ford Transit Custom. This will grow over time, I will add guides and reviews. In addition I am going to explain this simple, probably unconventional conversion. Stay up to date and follow the journey to see a standard van turn into the Grizzly Wears Transit Custom Camper Van !

    Like many businesses we rely on vans for transport of goods. This is probably where the similarity ends. Not only does this van need to be able to carry large loads for exhibitions but it also needs to be off grid capable for a few days, comfortable enough to live and work from for possibly weeks. This van will take us on many short adventures around the country. Importantly it will carry everything we need for shows, exhibitions, markets. It has to do a lot of things well. Traditionally the problem with camper vans is they have no space for carrying goods and it is also hard to get bikes inside. This means that everything must be removable which also means it can not officially be registered as a camper.

    A Man with a Van and a Plan

    Firstly, I can’t go down the traditional kitchen plus rock ‘n roll bed route. I also don’t think this is the best set up for me. I won’t be adding windows or removing the bulkhead. Both of these mean I would need curtains and from previous experience curtains aren’t the best idea in a van full of muddy bikes. This van is going to be bear necessities and some parts will be from my old van. (Yes – I have done this before). I will try to capture everything I do and make videos for YouTube so you can follow if you want to do similar. Or just decide my way is wrong. Either way, every camper conversion seems to follow a certain set of rules and come up with the same solution. I guarantee this will be very different. The Transit Custom camper van plan is:

    • Wrap with awesome Grizzly Wears Graphics.
    • Leisure battery and inverter.
    • Split charging.
    • Install mains electric with changeover relay.
    • Interior Lighting.
    • Facelift the cabin.
    • Insulation.
    • Carpet and Lino.

    In comparison to most conversions this is a very short list leading to a very versatile vehicle. Importantly this van has to remain capable of transporting gear. It is going to work for a living. Furthermore it needs to take 3 bikes and people on adventures. Likewise there is a need to live and work from the van. This van will be uniquely converted to do all of these things. Equally Important, this conversion has to be cost effective and I will be doing all the work myself.

    Lastly, like most campers, I will need to cook in the van. Having a fixed kitchen is not an option. Therefore I will also have to get creative and add some extra storage as the project unfolds.

    Day 1 of Van Life…

    Today I collected my van. This is the start of some great adventures and the Transit Custom Camper Van project.

    The main reason for me choosing a Ford over a VW is the cost and size. VW Transporters are smaller and the extra size whilst retaining the ability to fit in a parking space is important. I have driven many vans and Ford Transit’s always seem to drive better, coupled with the amazing number of storage spaces and cup holders just make this the best in my opinion. The Transit Custom steps up a level with a nice interior. In addition, cost of parts and servicing is much cheaper. I fully get the VW scene but you won’t change my mind. Furthermore, with the current price of vans being very high and VW’s demanding a premium, the Ford is even better value for money currently.

    First Impressions

    I like this van. The handling is good, there doesn’t seem to be any major problems. The van itself is in good condition. I did intend to get some decent drone footage but was rained off on my first outing !

    I will update this with pictures and videos if I actually got any worthwhile footage at a later date. It would have been good to get some footage of the van before work started but I really need to get going whilst the weather is OK. I’m pretty sure everybody has seen a white transit before too. At this stage it is really nothing out of the ordinary.

    In Summary…

    This is going to be an ongoing project. Nothing at this stage is set in stone and there may be a few diversions to the plan. Follow my journey on YouTube and Instagram for latest updates.

    Lastly, support me by visiting my online shop. Treat yourself to a fantastic pair of adventure capable boxer shorts, plus a t-shirt and help me make some more interesting content along with exciting adventures around the UK.

  • Guide to Outdoor Photography

    Guide to Outdoor Photography

    Firstly I would like to declare now that I am not a professional photographer. Furthermore I don’t really have that much of an idea of how to use most settings on a camera. But it has never stopped me capturing what I want. So this is the Guide to Outdoor Photography My Way.

    Being a firm believer that good photos come from being in the right place at the right time, I have little reason to learn about tweaking all the settings. In addition, I don’t spend a lot of time editing photos. I feel like this makes them more of a drawing than a photo. A photograph should be a capture of a moment in time. Just to clarify, I don’t have a problem with heavily edited/filtered images. It just isn’t my way.

    Guide to Outdoor Photography - Star lapse
    Star Topping – GoPro Hero 9

    So what Camera should you buy ?

    I’m not much of an expert about cameras or lenses. Personally I favour the GoPro for versatility and quality. A lot of the more serious photographers may laugh at this. Packing a versatile number of settings/lens modes means you have a pocketful of tough, light equipment in one device. I have spoken about mods and accessories in my post about the GoPro Hero 9. Think of the camera and settings as your particular style. Not as a level of quality. If you like the results from an old film SLR with a damaged lens then use it. Use the camera you feel most comfortable with (it may even be the one built into your phone).

    Furthermore, I feel as though the camera plays little part in the overall results. Aside from having the capability to capture the type of images you are looking for and in a high enough resolution for the device it is intended to be viewed on.

    So what is the Key part of getting good photos ?

    Time and place. There is no substitute for getting out more and at different times. The worst weather can make the greatest photos. In addition you will never catch lightning, if you don’t sit out in a thunderstorm. A photo is a snapshot of a moment in time at a certain location. Especially in outdoor/landscape photography it is unlikely that someone will capture an identical scene to what you are currently seeing.

    On occasions you will have to plan photos. Watch the weather, wait for the right time of day (or night) and look at other factors such as geomagnetic activity. Sometimes a good star lapse can take months of waiting. On the other hand you can just be lucky and get a great picture by chance. The more you practice, the better you will get at spotting good pictures and capturing them.

    Guide to Outdoor Photography - Sunrise
    Atomic Sunrise – Razer Phone 2

    My Summary of Outdoor Photography

    Sometimes great photos just happen. Sometimes you have to go out and chase them. Either way, the more you get out, the more likely you are to get good photos. If this is something you really want to do and be proud of, You just have to get out there and play. Make the most of every opportunity.

    Finally if you found this at all helpful or inspiring, support me by visiting my shop !

  • How to breathe

    How to Breathe while Exercising

    Initially, this may seem like a simple concept and one which is often overlooked. Breathing is something that is handled by our subconscious mind most of the time and not often given much thought. This is probably why a lot of people do not consider how to breathe. By taking control of your breathing you can retrain yourself to perform better. If you often feel breathless and struggling for air this is definitely something you should read…

    If you learn to breathe properly you can push yourself harder for longer. You can work your muscles more efficiently and feel less tired at the end. Whether you’re Cycling, Running, Hiking, Walking this is something that will make what you’re doing much easier.

    Breathing is something you will have to do. You’ll have to do it more when exercising. It is easy to see runners going along, hardly out of breath and assume they are super fit. The likelihood is that they are but they didn’t start there. They are indeed working hard but have learnt to control their breathing in a more effective way.

    How to breath while Cycling

    Take the small wins to get going

    Firstly, it is very easy to get carried away. When using Strava it is easy to become disheartened if you weren’t as fast as last time. Don’t do this. Accept you’re going back to step 1 to build yourself up stronger. The aim here is simply to not get out of breath and keep going.

    Pick a distance you normally have to slow down and walk or push or stop. Instead of trying to run quickly just breathe deeply. Breath in through your nose for 3 seconds, hold it, breathe out through your mouth for 3 seconds, hold it and repeat. If you find you’re breathing faster, slow down. Do not allow to yourself to get to the point of hyperventilating. It’s much harder to recover from this and you will have to stop. Concentrate on letting your breathing control your speed. Use all of your lungs.

    You will start to feel like you’re getting better and gaining fitness very quickly. More than likely you’re just fuelling yourself with oxygen much more efficiently. Also you will save a little energy from not breathing as hard and inefficiently !

    Yogi's know how to Breathe !

    Why does this make you so much better ?

    Under normal resting breathing you only utilise about 20% of your lung capacity. Instead of rapidly using a small part, try using all of it, breathe deeply and slowly. Rest days are still important but if you feel like you can go and push yourself more often then why not. Well done, you’re starting to learn how to breathe.

    Learning how to breathe more efficiently is your first step towards being more efficient. Fuel your muscles with more oxygen. It is easy to assume that breathing faster and heavier will increase the amount of oxygen in your body but it has the opposite effect. Slowing down your breathing will increase your blood-oxygen saturation level.

    How to Breathe while Running

    The Next Steps

    Once you have learned to cover that distance you couldn’t do without stopping you can either start speeding it up or you can go further. This is where you can start to see greater fitness gains. Being able to go further or faster or longer, whatever your goal is, is where you can start getting fitter.

    Don’t try to do it all at once. Remember you are rebuilding yourself ultimately better than before. If you have to slow down to go further, do it. Build up slowly. This is about pacing yourself so you don’t get exhausted as much as it is about improving. Stay in this zone of not being out of breath and you will build fitness much faster. This is how you can work your muscles more efficiently and reduce fatigue.

    How to Breathe whilst Spinning

    A Life Skill to Master

    This is truly a skill to master. There are many good videos and guides out there with various different techniques. Ones to give you a burst of speed or ones that might just work better for you. Everybody is different and it is not a one size fits all solution. However, this is a good place to start. In conclusion, all you need to do is keep it slow and deep and allow your breathing to control your pace. Don’t let your pace dictate your breathing.

    Once you have mastered this doing whatever you are doing, it translates over to making you better at any other type of aerobic exercise.

    As always, If you found this useful, support me by buying some of my awesome sportswear

  • Guide to British Wild Camping

    Guide to British Wild Camping

    Firstly, I would like to highlight that wild camping anywhere in England is illegal. I am not advising you should go out, pitch a tent and set up camp for weeks for free. The dictionary definition of “camping” however is “the activity of staying in a tent on holiday”. Now that we have cleared that up, lets get on with the Grizzly Wears Guide to British Wild Camping.

    I like to think of myself as the rugged Bear Grylls type adventurer. This means I go with bare essentials to an inaccessible or remote place for the night. Or I check into a five star hotel because there is one nearby and a hot shower and comfortable bed is what you need mid adventure. On the other hand you have the Ray Mears types. Ray will turn up with a pen knife and in no time at all have crafted a 4 storey dwelling with running water, central heating and have gathered something for dinner. This is not me. When spending the night outside I take what I need and leave no trace I was ever there.

    Wild camping is tolerated if you make little noise, leave no litter and don’t start large fires. The spot you choose to stay for the night must be left as you found it. This is the way. Leave the place you enjoyed at least as good for the next person.

    What is the appeal of Wild Camping ?

    Nothing seems to help me put things in perspective as much as a night under the stars. It doesn’t seem to matter what the weather is doing as long as you’re warm, dry and have coffee. I love to watch the whole scene of the sun setting around me and the light show from the stars. It is also the best way to force yourself into a Digital Detox.

    What you can see spending a night outside

    Sit down, relax, have a warm drink or beer, take a deep breath and absorb what is happening around you. Think about the greater universe and what is happening. Take a camera and get some photos/videos and see if you can reveal more of what is going on around you. Leave the rest of your life behind. This is a moment of absolute you time and nothing else matters. And take your dog along, they will love it !

    What equipment do I need ?

    Personally, my kit list is pretty short. This is far from glamping. Even so there are items I could do without. All I need is to be warm, dry and hydrated. This also means I have a pretty light and small pack size. My inventory is as follows:

    • Sleeping mat.
    • Sleeping bag.
    • Bivvy bag.
    • 3 litre hydration pack.
    • Gas stove.
    • Mug.

    Importantly, there really is not a lot to forget here which helps a lot when you have a memory like mine. Furthermore, having a regimented packing order means it is harder to forget something. I open my rucksack, first in is my hydration pack followed by sleeping bag inside the bivvy bag. Thirdly, my gas stove and mug filled with 3 in 1 coffee sachets goes on top. Finally, close the rucksack and attach my sleeping mat to the outside. This is all the preparation you need to do before getting up and going. If you have these 6 items, you will be fine.

    Best Equipment Choices

    In my experience these are the best choices for equipment. You may prefer more comfort but having done this many times over the years, for days/weeks on end or the odd night at a time, this is what I have come to rely on and why.

    Sleeping mats

    Nothing fancy needed, just a simple foam roll mat to keep you insulated from the cold ground. I have tried inflatable and self inflating mattresses but when they pop or leak they are much less comfortable. They also cost significantly more, weigh more but some do pack down smaller. Although this is only a problem if it is going inside your rucksack. If you do insist on something inflatable, make sure you take some duct tape or patches to fix it when it does get punctured because you threw it on sharp rocks in the dark and jumped on it !

    Sleeping bags

    This really is a personal preference thing but not somewhere you should be trying to save money. I like a sleeping bag rated to about -5. This seems to be the sweet spot for UK use, It doesn’t get a lot colder than this. It is also not too warm in the summer when it is much warmer on a night. and you can always undo the zip to let a little heat out.

    Take care of your sleeping bag and it will last for years, keep it dry and uncompressed. You should throw the compression bag they come with in the bin and allow your sleeping bag to take up as much space as possible in your rucksack and also when stored. Compressing your sleeping bag pushes air out and reduces it’s insulating properties. This is not ideal. Let your sleeping bag loft and perform at it’s best, the same as a down jacket.

    Importantly a sleeping bag should be smaller to reduce the amount of air you need to heat inside it. Don’t get a two person one with the aims of spreading out. You’ll only get a draft every time you move and it sucks in cold air.

    Bivvy Bags

    Ditch that tent ! Tents weigh lots (even light weight ones) and they cost a lot. If you go with a bivvy bag, it keeps your sleeping bag waterproof, weighs far less, has no poles to snap and does not have to be pitched. In addition, you don’t have to spend much time packing it in the morning either. And as an added bonus, I’ve never put a hole in one, but you could tape it back up as good as new !

    My preference here is the Alpkit Hunka. Cheap, tough, small, light and customer service is second to none. I have tried various military ones – British ones are OK, they are goretex but don’t have the nice fitted face hole of the Hunka. In addition, military surplus ones seem about the same price and are well used sometimes. Just go with Alpkit. It is the best and mine has lasted for over a decade without issues now.

    Hydration Packs

    These are something that there is now a huge range of choices in. Camelbak is as good as ever. Many brands of rucksack come with a Hydrapak. Also a great choice. The advantage is that you can drink whilst walking and they squash into your rucksack and get smaller as they empty. Having a hard plastic water container of fixed size means it is always that size and shape.

    I always like to take a large 3 litre hydration pack and find this lasts me the night with plenty to spare. It also adds a bit of a water pillow quality to your rucksack when using that as a pillow.

    Gas Stoves

    When it comes to boiling water, a gas stove is the easiest method. The all round winner for me in this department has to be Jetboil. The main reason being the whole lot packs inside itself so it is compact, versatile, reliable and all importantly self igniting. This means I don’t have to remember to carry a lighter and find it in the dark. There are a few alternative/cheaper brands out there now although I haven’t tried these. My Jetboil is something I have had for a long time now and never found reason to change it.

    There are many other alternatives such as compact stoves and titanium mugs but the jetboil can be held in your hand if you can’t find a suitable surface. It also has a pretty stable stand that supports it on angles and the burner attaches to the pot so it won’t slip off and spill your limited water.

    This is an area where it also comes down to preference. Find what works best for you – It is the jetboil for me. I even used mine in the house for 6 months when I ripped the kitchen out and had no other means of cooking.

    Mugs

    Forget enamel, steel or expensive/exotic mugs. It’s all about the cheap, light plastic ones when it comes to reliable adventuring. I like to fill mine with my drink sachets and usually a spoon so it doubles as a kitchen cupboard. Again, any teaspoon works, you really don’t need a dedicated adventure spoon. If regularly going with a friend, why not invest in stackable mugs and take one stove. Or even better, make them carry their own and use their own gas too !

    Flasks are good if you want a warm drink for on the move as you walk back to civilisation. Or even getting one step ahead and filling it before you leave so you don’t need to immediately unpack and make a drink. Camelbak also make good flasks, as do Contigo.

    Is there anything else I need ?

    That was the essential list. You can always increase what you take but it doesn’t add much value or make the experience any better for most of the year. This guide to British wild camping is mostly how I get along on the bare minimum. If this isn’t enough to get you through the night my advice would be to go glamping or stay in a hotel.

    For those who are unable to disconnect from the internet for the night, a good sized portable USB charger is a great addition. It can also be handy should something go wrong and you need to check your location or call emergency services. Just make sure the charger is charged before you take it !

    For worse weather you can take a tarp as an extra layer between you and rain/wind, best when used near trees or you can get a couple of light poles to keep them up. Alpkit do great ones, there are cheaper options, there are more expensive ones. They aren’t vital and you can just roll over so the face hole in your bivvy bag points down. sometimes these things are more effort than they’re worth. sometimes they’re invaluable.

    I tend to carry a head torch with me, usually set on the red light but I don’t normally need it. My advice is to be undetectable and out of the way. Leave no trace you are there and you will go unnoticed or be tolerated.

    Guide to British Wild Camping
    The type of photos that make Wild Camping more than worthwhile

    What about Cameras ?

    If you want to capture the night sky, take your camera along. If you have read my other articles, you probably already know that I love the GoPro Hero and this is a great camera for capturing the night sky. It is also compact, can last all night on a portable charger and will give great results. Couple it with a proper tripod for stability all night and you should be good to go. Tripods don’t have to cost a fortune, there is an amazon basics one which you can weigh down with rocks or tent pegs and paracord to make it more secure. It is light and good enough to carry and does what I need.

    As the GoPro is waterproof there is not much need to panic in the event of rain but it is worth having a zippy freezer bag to keep your portable charger dry !

    Although phone cameras are always improving they still don’t tend to be great at capturing the night sky.

    British Wild Camping in Summary

    Consideration will get you a long way here if this is something you enjoy. Do not spoil the nice place you want to be for other people. Not only in Britain but any other country you choose to go wild camping. If you are asked to move on, do it without question and be polite. Don’t argue with farmers, they do have guns.

    If you’re going to go out and enjoy a night under the stars, stay warm, stay safe, leave no trace.